10 tips for planting hedges
Autumn - in which we currently find ourselves - is the perfect time to put hedge plants in the ground. The plants are then dormant, as it is so beautifully called. Of course, now is not the only possible time to plant them, you can do so from September to May. However, the temperature is now dropping and it generally rains a bit more, so you do not have to water them often. On the other hand, if it freezes, you cannot put the plants in the ground. Not only is it impossible to (properly) dig up the ground, it is also not favourable for the roots, because they can hardly or not at all settle in the soil. So are you planning to plant a new hedge? Then now is the time to do it. This way you will get the best result.
It is wise to prepare several things thoroughly, as well as to keep the hedge well-watered afterwards. But that goes without saying, of course.
Here, we give you 10 tips in working order. If you follow this order, you will be able to fully enjoy the beautiful hedge in the years ahead.
- Make sure that the area where you want to place the hedge is completely free of grass and weeds. Why? It makes the work more pleasant, it certainly looks better, and the roots of the new hedge plants need all the nutrients from the soil they can get. The plants cannot afford to have to compete with the surrounding weeds. Do you have a lot of weeds? Then you may want to consider adding mulch (coarsely chipped organic matter such as branches and bark) to the soil. This stops weeds from growing.
- Dig a trench about twice as wide as the plant itself. Also, make sure that the trench is one or two inches deeper than the root ball. Tip: string a wire between two sticks alongside the spot where you will dig the trench. This way you immediately get a nice, sleek hedge.
- Thoroughly loosen the soil and mix about three centimetres of potting soil with the soil from your garden. This makes the soil a bit lighter, which greatly helps the roots to settle themselves well and quickly.
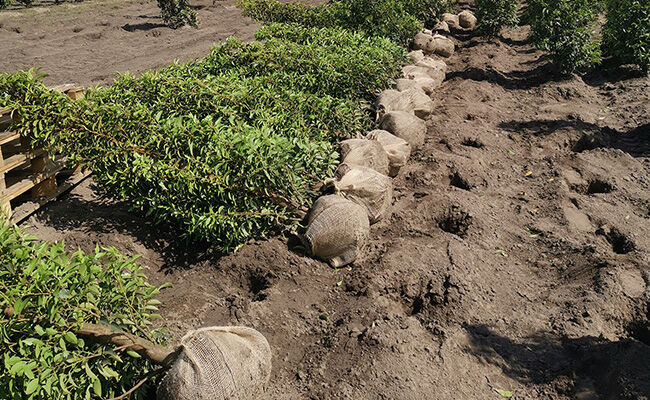
- Place or lay the hedge plants along the trench, exactly where you want to plant them. In doing this you can easily adjust something if necessary. Our advice is: keep about two to three hedge plants per linear meter. Of course, you can also plant them closer together or further apart. That is up to you.
- Are you satisfied with the distribution? Then place the plants upright and exactly in the middle of the trench. This is extremely important. Otherwise, your hedge will grow crooked and that is not a pretty sight. And no - believe us - this cannot be solved by pruning. You will always see it and that is such a shame.
- Make sure to place the root ball about two centimetres below the surface. Why is that? Many people think: I will place the plant nice and deep into the ground. But that is unfavourable. It is better to plant the hedge plant too high than too deep. Roots can very easily grow downwards, but growing upwards is a lot more difficult. Besides, in the spring the soil just below the surface is warmer than it is further down, which can cause the root to start sprouting. This is not good for the plant. Therefore, place the hedge plant at the same depth as it was at the nursery. When in doubt, plant it as high as possible.
- Next, fill the trench with a mix of compost and soil from your garden. Do you have clay soil in the garden? Then fill the trench entirely with potting soil or compost to ensure that the soil is as airy as possible.
- Press the soil down well so that the hedge plants are standing securely. But beware: do not press the soil too firmly, because the roots love an airy environment, in which they can settle. If the ground is very dense, this will make it harder on the plant.
- Water the plants sufficiently after planting so that they can settle rapidly and firmly. If the soil is already quite wet or it rains a lot in the period after you have planted the plants, then, of course, you do not need to water a lot. Assess this according to your situation.
- Putting a sand barrier around the hedge makes the watering easier by making sure that the water ends up in the right place; at the roots, that is. This way you can be certain that the plants are able grow correctly.
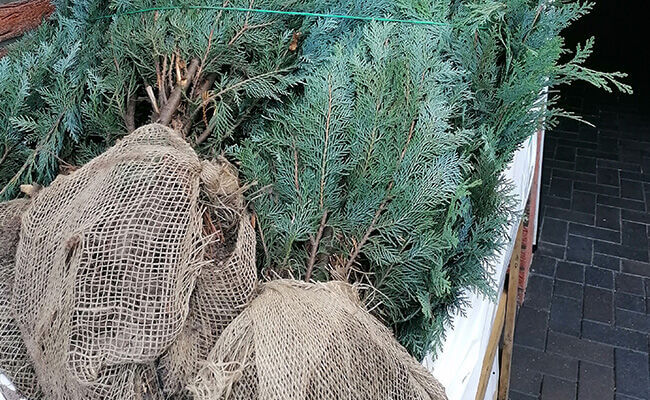
After the work is done, all that is left is to rest and more importantly: to enjoy your beautiful, sleek hedge. Of course, it will take a while before it is really at the desired height and the view of the neighbours or the street is blocked, but it goes faster than you may think. What we still want to share with you is the following. Our hedge plants are almost always delivered with the root ball wrapped in a burlap sack. It goes without saying that you have to be careful with the plant, and especially with its roots so that they do not get damaged. You do not have to remove the burlap bag. It will decay by itself in the ground. Handy, right?!
The tips mentioned above are general tips for hedge planting. With every order, you will receive specific advice about planting the hedge you ordered. The distance between the plants is not exactly the same for all hedges, so we will explain this to you with your order. We will work with you to ensure that you can fully enjoy your hedge.


